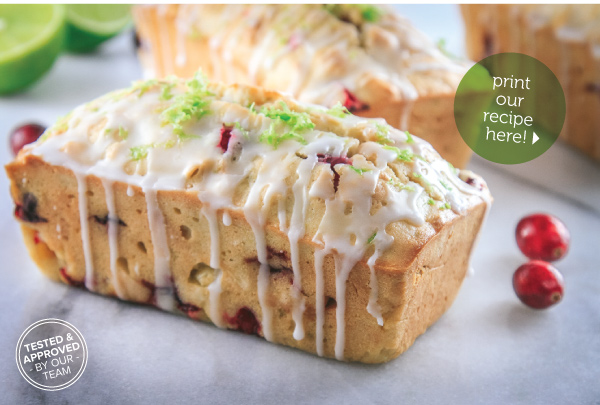
Double Chocolate Zucchini Bread with Pecans
Lia Soneson

Looking for a delectable way to enjoy the seasonal plethora of zucchini? Try our Double Chocolate Zucchini Bread with Pecans. A perfect treat for any time of day, it's a mouthwatering way to satisfy your chocolate cravings with a touch of wholesome goodness. Get our recipe here!
Double Chocolate Zucchini Bread with Pecans
Makes 1 loaf
Ingredients:
1-1/2 cups all-purpose flour
1/3 cup unsweetened cocoa powder
1 teaspoon baking powder
1/2 teaspoon baking soda
1/2 teaspoon salt
1/2 teaspoon ground cinnamon
2 large eggs
1/2 cup sugar
1/4 cup plain Greek yogurt
1/2 cup vegetable oil
1 teaspoon pure vanilla extract
2 cups grated zucchini, (about 2 medium-sized zucchinis) finely grated with a box grater
1/2 cup chopped pecans
1/2 cup dark chocolate chips
Directions:
1. Preheat the oven to 350 degrees F. Grease and flour a 9x5-inch loaf pan or spray with a baking spray.
2. Finely grate the zucchini using the smaller side of a box grater for a fine texture in the final bread. Set aside.
3. Prepare the dry ingredients. In a medium-sized bowl, combine the flour, cocoa powder, baking powder, baking soda, salt, and ground cinnamon. Set this dry mixture aside.
4. Whisk together the wet ingredients. In a large bowl, whisk the eggs and granulated sugar until well-combined and slightly thickened. Add the Greek yogurt, vegetable oil, and vanilla extract. Mix until smooth. Gently fold the finely grated zucchini into the liquid mixture.
5. Combine the wet and dry ingredients. Gradually add the dry ingredients to the wet mixture, mixing until just combined. Be careful not to over-mix; a few lumps are okay.
6. Fold in the chopped pecans and dark chocolate chips with a spatula.
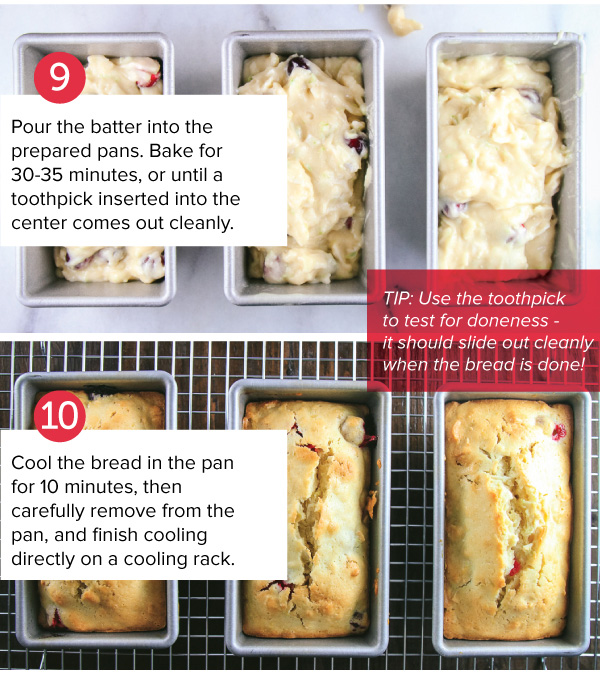
7. Pour the batter into the prepared loaf pan and spread it evenly. Bake in the preheated oven for 50-60 minutes or until a toothpick inserted into the center comes out with only a few moist crumbs attached. If needed, loosely cover the bread with aluminum foil if it begins to brown too quickly.
8. Allow the bread to cool in the pan for about 10 minutes before transferring it to a wire rack to cool completely.
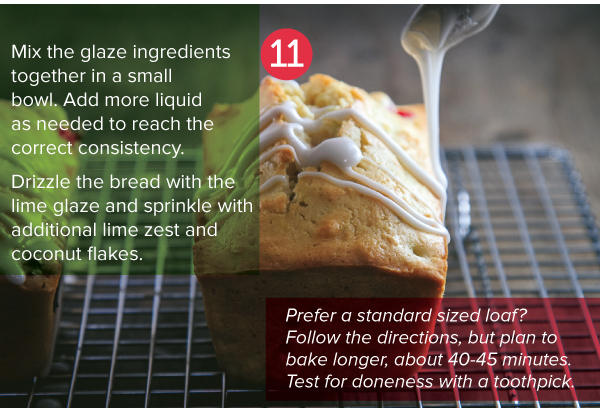
9. Slice, and enjoy warm with a smear of butter!